
Making Incense Cones
This winter I've returned to my humble beginnings as an incense maker. Here are some photos from the meticulous production process of making Indian-style incense cones. I made them in two luxurious yet simple "flavours": Sandalwood and Agarwood.
I'm still experimenting with other ideas of more complex formulations, but for now I'm just wowed by what a simple incense (read: one note) smells like. With these two woods, that's really all you need...
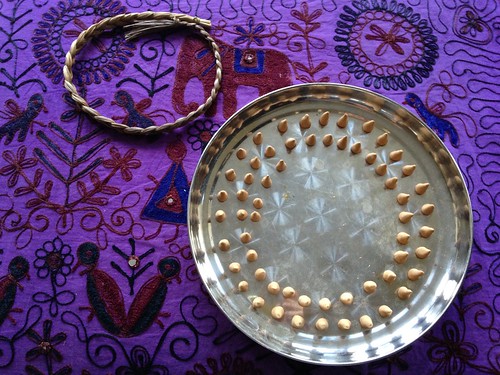
The most frustrating part of incense making is grinding. Bonus effect: if using an effective heavy-duty electric grinder, the fine powder will go up your nostrils every time you check on the progress. Major sneezing fits may ensue. Or just an unregulated high from botanical substances. This one had tobacco leaves in it (grown for medicinal/ceremonial purposes). My nose did not agree with it and I had to put up with watery eyes and itchy nose that afternoon.

Indented incense trail, with the trial mix sprinkled inside it.
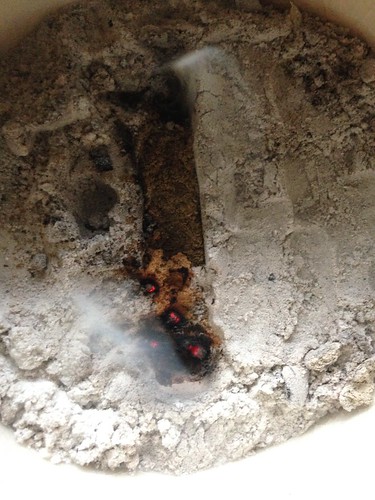
The true test - incense trail. If this burns through to the other end, we're off to a good start. If it also smells wonderful - we're good to go!
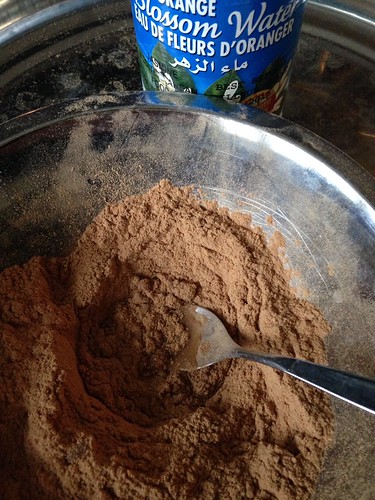
Now that the blend has been perfected, and confirmed to both burn through and smell good, it's time to add water. It will form a clay-like putty. It can't be too try, nor too moist. Gotta be just right...
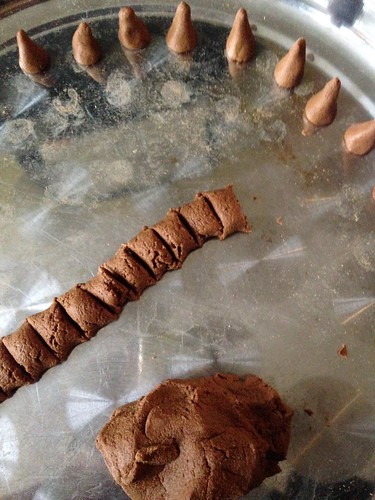
To make the incense cones uniform in size, I've rolled them into a snake and cut into little gnocchi-shaped sections. Each is rolled by hand to form a cone, and left to dry.
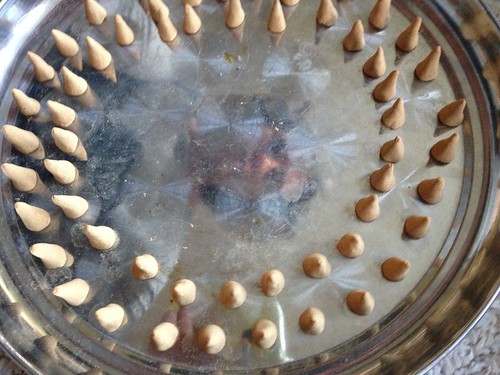
Incense maker's selfie of sorts... The incense is now ready to pack away - and burn!
Labels: Agarwood, Incense Cones, Incense Making Techniques, Sandalwood
posted by Ayala Moriel @ 6:54:00 PM
![]()


0 Comments:
Post a Comment
<< Home